Introduction
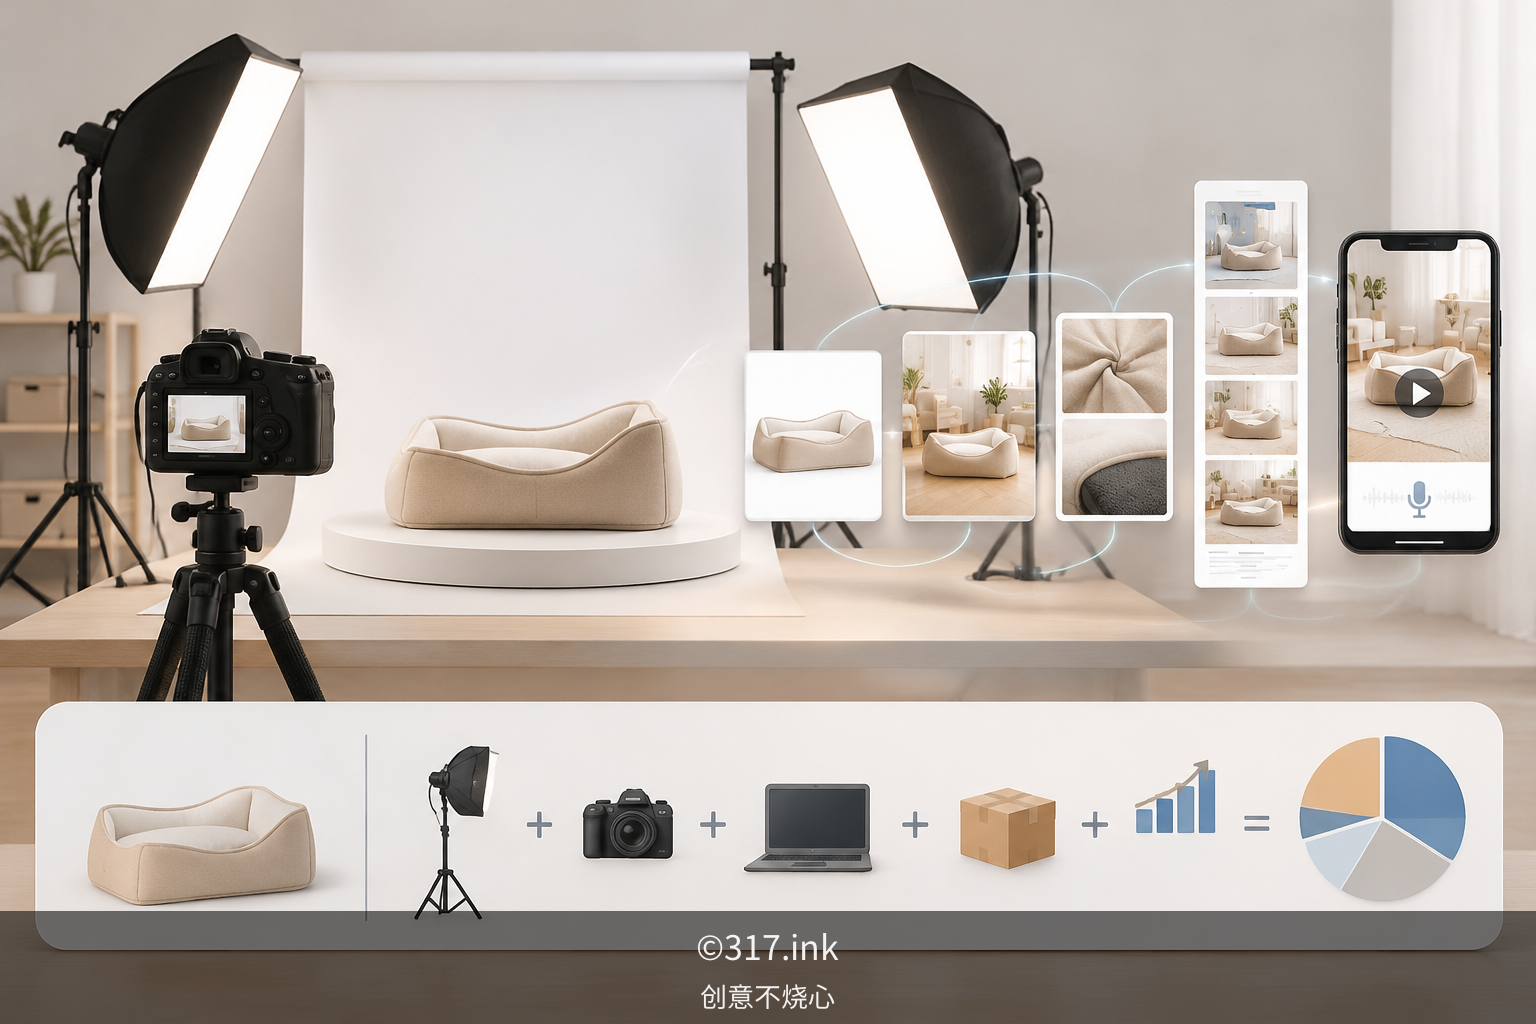
Many small and mid-sized sellers have been through this: before a new product goes live, you need to take photos, retouch them, design selling-point images, and edit short videos—a full loop that eats up both time and budget. Hiring a photography team for one set of shots starts at several hundred to over a thousand yuan; outsourcing main images and detail pages is another expense; and short videos require a separate editor. In fact, if you break the process down, many steps can be handled by one person working with the right tools. Below, we walk through the sequence of "shoot one base image → automatically generate multiple sets of assets → break down the costs," and provide a cost checklist you can refer to.
1. Start With a "Good Enough" Base Image—Don't Chase Blockbuster Shots Right Away
When one person is doing the visuals, what matters isn't how professional the equipment is, but whether the base image is clean and consistent. In practice, prepare a solid-color backdrop, two fill lights (or window daylight plus a reflector), place the product in the center of the frame, and shoot 3–5 photos with a phone or entry-level mirrorless camera: front, 45 degrees, side, and a close-up detail. Keep three things in mind while shooting: even lighting with no harsh shadows, the product filling about 70% of the frame, and a background that's as clean as possible. Only then can the tools reliably recognize the base image, so automatic cutout, background replacement, and multi-size asset generation require less rework. If the product is highly reflective (glass, metal), add a sheet of tracing paper to soften the light—it costs a few dozen yuan and the effect is immediate.
2. Main Images, Selling-Point Images, Detail Shots: Batch-Produce From One Base Image
Once the base image is ready, import it into a tool with AI cutout and template features (common design platforms and e-commerce backends offer similar capabilities). First, cut out the product and replace the background with white to generate main images at the platform's required size. Second, apply selling-point templates: fill in copy such as "material, dimensions, use cases" into fixed layouts, and the system will handle the typesetting automatically, exporting multiple selling-point images at once. Third, crop close-up sections from the base image and add short captions—those are your detail shots. Here's a practical tip: first list in a spreadsheet what each image should communicate (e.g., one on material, one on use scenarios, one on what's in the box), then batch-generate according to that list, so you don't discover missing information only after finishing. One person can usually complete a first draft of main images, selling-point images, and detail shots in an afternoon, leaving time to fine-tune copy and color schemes.
3. Long-Form Detail Pages: Define the Structure First, Then Let the Tool Assemble It
The most time-consuming part of a detail page is often not the design but "figuring out what to say." Start by writing a structure checklist: a one-line brand or product intro → three core selling points → lifestyle images → spec table → packaging and after-sales notes. Prepare the image and text for each block, then stitch them together in order using a long-image template, adjusting spacing and dividers as needed. Information like spec tables is clearer in table format, and after-sales notes should use a consistent font size for a tidier overall look. If the product needs comparison (e.g., different specs), make a separate comparison image and insert it mid-page. Following this process, a first draft of a long-form detail page can generally be done in half a day, with only局部 replacements afterward.
4. Short Videos With Voiceover: Reuse Your Image and Text Assets
Short videos don't have to be shot from scratch. Arrange the main images and lifestyle images generated earlier into a sequence at 3–5 seconds per image, mix in short clips of the real product (e.g., unboxing, usage actions), import everything into an editing tool, use the "text-to-speech" feature to generate a voiceover, and let it auto-add subtitles. The script can be very short: one opening line on the pain point, two selling points in the middle, one usage tip at the end. Choose a clear, steady voice, with a slightly slower pace for easy listening; keep the background music low so it doesn't drown out the voice. When exporting, select the vertical aspect ratio required by the platform. A 30-second video can be completed within an hour once you're comfortable with the process, and since it shares assets with your images and copy, there's no need to shoot again.
5. Cost Breakdown: Where the Money Goes and Where You Save
Breaking costs into four parts makes things clearer. Equipment and space: backdrop, fill lights, reflector, tracing paper, and other one-time purchases total about one to two hundred yuan, and a table at home can serve as your shooting stage. Tool costs: most platforms offer basic free quotas for cutout, templates, and voiceover features; beyond that, monthly subscriptions are common, typically ranging from a few dozen to around a hundred yuan—choose based on your needs. Time cost: about 1 hour for shooting, 2–3 hours for main and selling-point images, 3–4 hours for long-form detail pages, and about 1 hour for a short video. The first run will be slower, but things speed up noticeably once the workflow is smooth. Outsourcing comparison: if you outsource shooting, main images, detail pages, and short videos separately, the combined quotes usually come out significantly higher than doing it yourself—but DIY requires an investment in learning time. We recommend running one product through the entire workflow first, recording the actual time each step takes, and then deciding which steps to keep in-house and which to outsource.
Closing Call to Action
Start with a product you're about to launch: shoot a set of clean base images, walk through the sequence of "main image → selling-point image → detail shot → long-form detail page → short video," and record the time and cost of each step. After one full round, you'll have a clearer idea of which steps can be turned into fixed templates and which need fine-tuning. Once the workflow is in order, gradually expand to more products—that's more reliable than trying to roll everything out at once.